

Step 1 — Get your SHA-1 fingerprint from Studio
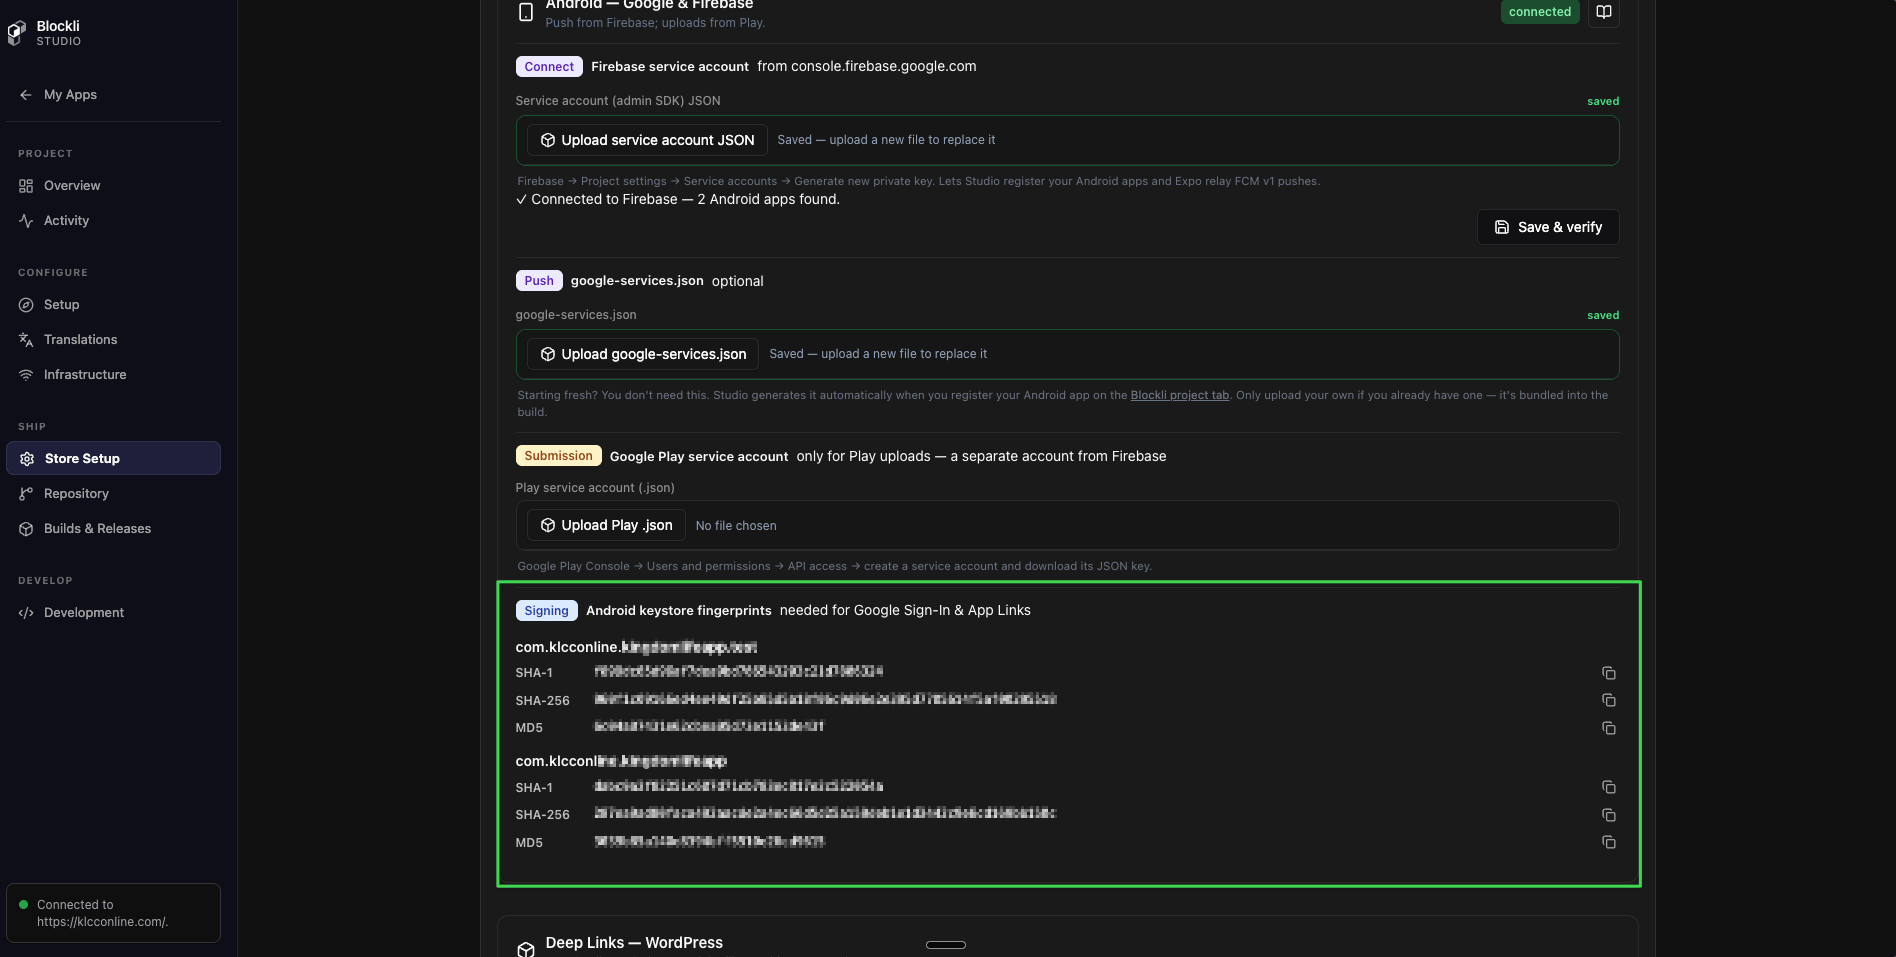
Blockli Studio manages your Android signing keystore. You can view and copy your fingerprints without needing access to Expo.- Open your app in Studio and go to Store Setup.
- Click the Credentials tab.
- Scroll down to the Android — Google & Firebase card.
- At the bottom of that card you will find the Android keystore fingerprints section.
Register the SHA-1 for both your release package name and your test package name if you want Google Sign-In to work in both builds.
Step 2 — Create an Android OAuth Client ID in Google Cloud Console
- Go to Google Cloud Console and open your project.
- Navigate to APIs & Services → Credentials.
- Click + Create Credentials → OAuth client ID.
- Set Application type to Android.
- Enter a name (e.g.
Blockli Android Release). - Enter your Package name (e.g.
com.example.myapp). - Paste the SHA-1 certificate fingerprint you copied from Studio.
- Click Create.
Blockli Android Test).
You should now have at least three Client IDs in your Google Cloud project:
- Web Client ID — created when you set up the OAuth consent screen
- Android Release Client ID — just created above
- Android Test Client ID — just created above
Step 3 — Add the Client IDs to your WordPress settings
- In your WordPress admin, open the Blockli plugin and go to Settings.
- Scroll down to the Integrations section.
- Check Enable Google sign-in.
- Under Google client IDs, add each of your Client IDs — Web, Android Release, and Android Test — one at a time using the input field and the Add button.
- Check Create WordPress users from verified social sign-ins if you want new users to be able to register through Google Sign-In. When this is off, social login only works for accounts that already exist in WordPress (matched by email or a previously linked account).
- Save your settings.
All three Client IDs go in the same field. The backend accepts any of them as a valid audience when verifying the Google token, so both your release and test builds will work.
Verify it works
Build a test app (Preview profile) and confirm Google Sign-In completes successfully. If it fails with an error about an unregistered app, check that:- The SHA-1 in Google Cloud Console matches exactly what Studio shows.
- The package name in the OAuth client ID matches the app you are testing.
- All Client IDs have been added in WordPress Settings → Social Login.